
As a homeowner, keeping your tile floors clean and well-maintained is essential to the overall appearance and value of your home. However, over time, grout can become discolored and dingy, making your tile look dull and dirty. To keep your tile floors looking their best, it’s essential to seal your grout properly. In this article, we’ll provide you with tips on how to seal your tile like a pro, specifically in Mount Dora, Florida, where Ben Handyman is available to assist with all of your handyman needs.
Why Should You Seal Your Grout?
Grout is porous and can easily absorb dirt, debris, and other contaminants, leading to discoloration and staining over time. Sealing your grout helps to prevent these substances from penetrating the surface, making cleaning your tile much easier and more effective. Additionally, sealed grout is less likely to crack, chip, or erode, extending the life of your tile and reducing the need for costly repairs or replacements.
When Should You Seal Your Grout?
It’s important to wait at least 24 to 48 hours after installing new tile before sealing the grout to ensure it has fully cured. If you’re unsure whether your grout has been previously sealed, you can perform a simple water test. Sprinkle a few drops of water onto the grout and wait for a few minutes. If the water beads up and doesn’t penetrate the surface, your grout has likely been sealed. If the water soaks in, it’s time to seal your grout.
How to Seal Your Grout Like a Pro
Before starting the grout sealing process, you’ll need to gather a few essential tools and materials, including:
Grout sealer
Grout sealer applicator brush
Gloves
Protective eyewear
A clean, dry cloth
Step 1: Clean the Grout
Before applying the sealer, make sure your grout is clean and free of dirt, debris, and other contaminants. You can use a mild detergent and warm water or a commercial grout cleaner to clean the grout. Avoid using abrasive cleaning products or tools that could damage the grout or tile.
Step 2: Apply the Sealer
Put on your gloves and protective eyewear before opening the grout sealer. Follow the manufacturer’s instructions on the label and use the applicator brush to apply the sealer to the grout lines. Work in small sections, applying the sealer in a thin, even layer.
Step 3: Wipe Away Excess Sealer
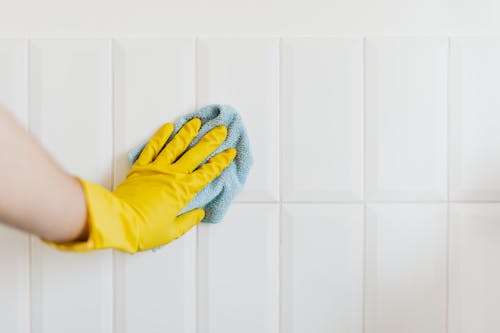
Once you’ve applied the sealer, use a clean, dry cloth to wipe away any excess sealer from the tile surface. Be sure to remove all excess sealer to prevent it from drying and leaving a hazy film on the tile.
Step 4: Allow the Sealer to Dry
Allow the sealer to dry completely before walking on the tile or exposing it to water or other liquids. The drying time will vary depending on the manufacturer’s instructions and the humidity level in your home.
Step 5: Apply a Second Coat (Optional)
If desired, you can apply a second coat of sealer to provide additional protection and extend the life of your grout. Follow the same process as before, making sure to wipe away any excess sealer.
Hiring a Professional Handyman
While sealing your grout is a DIY task, it can be time-consuming and labor-intensive, especially if you have a large area of tile to cover. If you don’t have the time or the desire to tackle this project yourself, consider hiring a professional handyman, such as Ben Handyman.