If you have ever tried to patch drywall, you know that it can be a frustrating and time-consuming task. Getting a seamless finish when patching drywall takes some practice and patience. However, with the right techniques and tools, it can be done easily and quickly.
At Ben Handyman in Gotha, Florida, we have been helping homeowners with their home repair needs for years, including patching drywall. In this article, we will share some tips on how to get a seamless finish when patching drywall based on our experience and expertise.
Tools and Materials
Before we dive into the techniques, let’s first discuss the tools and materials needed for the job. Here are the basic tools and materials you will need:
Drywall patch
Joint compound
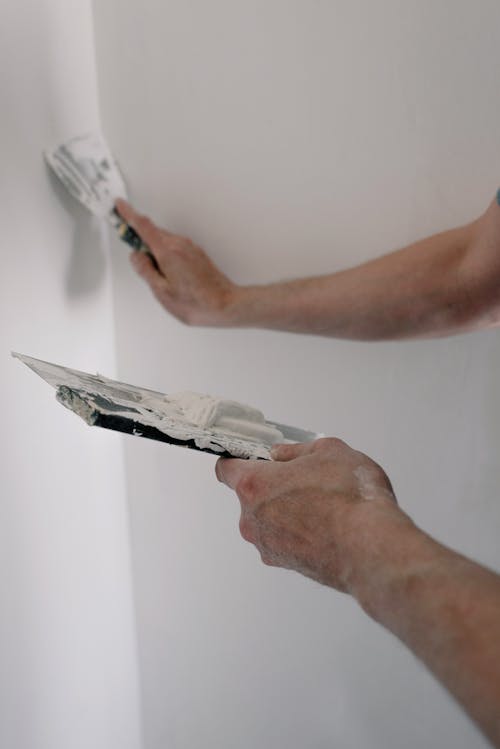
Drywall knife
Sandpaper
Paint
Getting Started
The first step in getting a seamless finish when patching drywall is to prepare the damaged area. This involves cutting away any loose or damaged drywall and creating a clean, even surface for the patch.
To do this, use a drywall knife to cut out the damaged area in a square or rectangular shape. Be sure to cut away any loose or crumbly material until you reach the solid drywall. Then, using sandpaper, smooth out the edges of the hole to ensure that the patch will sit flush with the wall.
Applying the Patch
Once you have prepared the area, it is time to apply the drywall patch. Simply place the patch over the hole, making sure that it is slightly larger than the hole to ensure proper coverage. Using a drywall knife, apply a thin layer of joint compound over the patch, feathering the edges of the compound out from the patch and onto the surrounding wall. Allow the compound to dry completely.
Sand and Repeat
Once the compound has dried, use sandpaper to smooth out any rough spots or high spots. Be sure to remove any dust or debris from the wall before applying another layer of joint compound. Repeat the process of applying the compound, feathering the edges, and allowing it to dry. Sand the area once again until it is smooth and even.
Finishing Touches
The final step in getting a seamless finish when patching drywall is to add the finishing touches. This involves applying paint to the repaired area. Be sure to match the paint color to the existing wall, or if the wall is painted with an older paint color, paint the entire wall to avoid color differences. Apply the paint with a brush or roller, and let it dry completely.
Tips and Tricks
Here are a few additional tips and tricks from Ben Handyman to help you achieve a seamless finish when patching drywall:
Use a setting-type joint compound for larger repairs as it dries harder and is more durable than a regular joint compound.
Use a primer over the repaired area before painting to ensure that the paint adheres properly and matches the surrounding wall.
Use a drywall sander or pole sander to make the sanding process quicker and easier.
Conclusion
Patching drywall can be a daunting task, but with the right tools and techniques, it can be done quickly and easily. The key to getting a seamless finish is to take your time, be patient, and use the right tools and materials. At Ben Handyman in Gotha, Florida, we are experts in home repair and maintenance, including patching drywall. We hope that these tips and tricks will help you achieve a seamless finish when patching drywall in your home.