Are you tired of looking at dirty, stained grout lines on your tiles? If so, it’s time to seal them properly. Grout is a porous material that can quickly absorb dirt, water, and stains. That’s why it’s essential to seal your tile’s grout to prevent any damage and make it easy to clean. With this handy guide from Ben Handyman, based in Montverde Florida, you can learn how to seal your tile like a pro.
What is Grout Sealing?
Grout sealing is the process of applying a protective barrier on the grout lines between tiles. This barrier helps to prevent the grout from absorbing liquids, dirt, and stains, making it easier to clean. Sealing the grout also helps to prevent any moisture from seeping into the tile and causing damage.
Why is Grout Sealing Important?
Sealing your grout is essential for several reasons. First, it prevents moisture from seeping into the tile, which can cause it to crack or become discolored. Secondly, sealed grout is much easier to clean. If the grout is left unsealed, it can quickly become stained and discolored. Lastly, sealing your grout can extend the lifespan of your tile and keep it looking like new for years to come.
How to Seal Your Tile Like a Pro?
Here are the steps to follow to seal your tile like a pro:
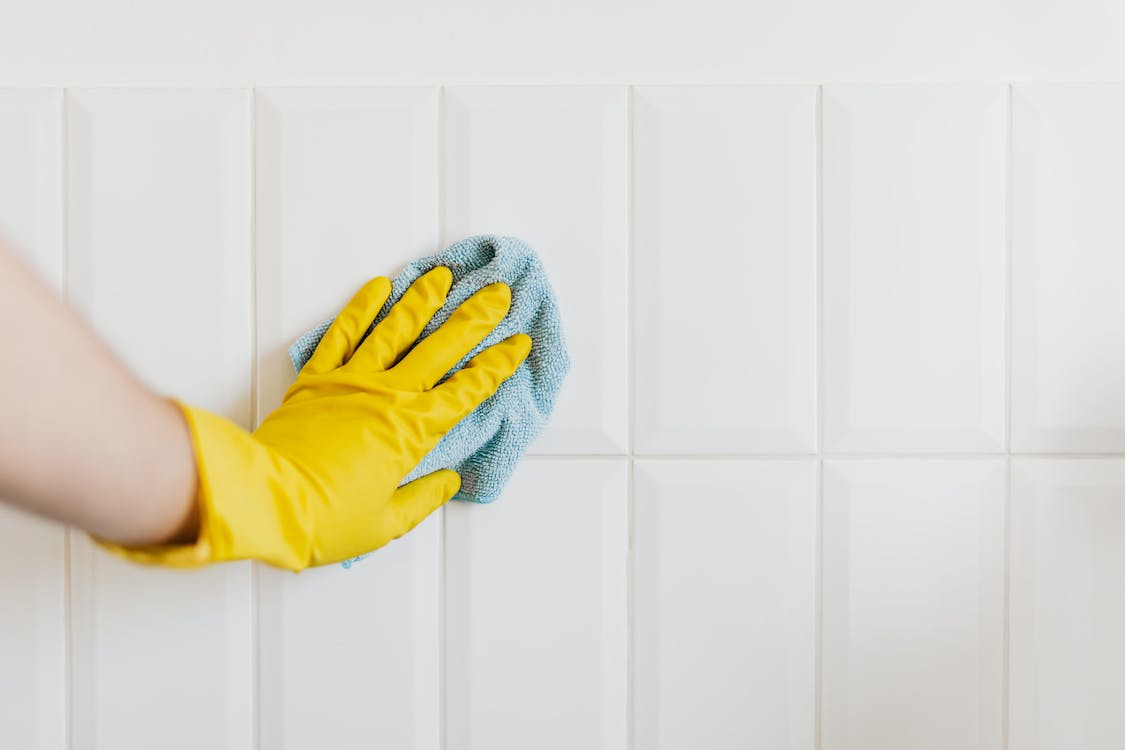
Step 1: Clean Your Grout
Before you start sealing your grout, you need to ensure it’s clean. Use a grout cleaner to remove any dirt or stains that may be present on the grout. Ensure the grout is completely dry before applying the sealant.
Step 2: Choose the Right Sealant
There are two main types of grout sealants – water-based and solvent-based. Water-based sealants are easier to apply and clean up with soap and water. On the other hand, solvent-based sealants are more durable and provide a longer-lasting seal. Choose the sealant that best suits your needs.
Step 3: Apply the Sealant
Using a small brush, apply the sealant to the grout lines. Be careful not to get any sealant on the tiles, as it can be challenging to remove. Ensure the sealant is applied evenly and covers all the grout lines. Allow the sealant to dry completely before using the tile.
Step 4: Reapply the Sealant
Most sealants require reapplication every two to three years. Check the manufacturer’s instructions to know when to reapply the sealant.
Why Choose Ben Handyman for Your Grout Sealing Needs?
At Ben Handyman, based in Montverde Florida, we offer a range of handyman services, including grout sealing. We have a team of experienced and trained handymen who can ensure your grout is sealed correctly, leaving your tiles looking like new. We use high-quality sealants that are designed to provide long-lasting protection for your grout. We understand the importance of having clean, well-maintained tiles in your home, and that’s why we strive to provide our customers with the best service possible.
Conclusion
Grout sealing is an essential part of maintaining your tiles. It helps to prevent damage and keeps your tiles looking like new for years to come. Follow the steps outlined above to seal your grout like a pro. If you’re in Montverde Florida, contact Ben Handyman for all your grout sealing needs. We’re committed to providing our customers with the best service possible and ensuring their homes look their best.